 Mobile electronics require a much different purchasing process than something you are buying for home use. A piece of furniture, a new toaster or a new lawnmower may require similar levels of research before making the purchase, but once you have them, you can take them home, unpack them, and start using them right away. Mobile electronic products like a new radio, an amplifier or a remote start system are more akin to buying a new electrical panel for your home or pump for your pool or hot tub. None of these products will do anything unless they are installed properly. Importantly, if these products are not installed properly, significant and serious problems could arise.
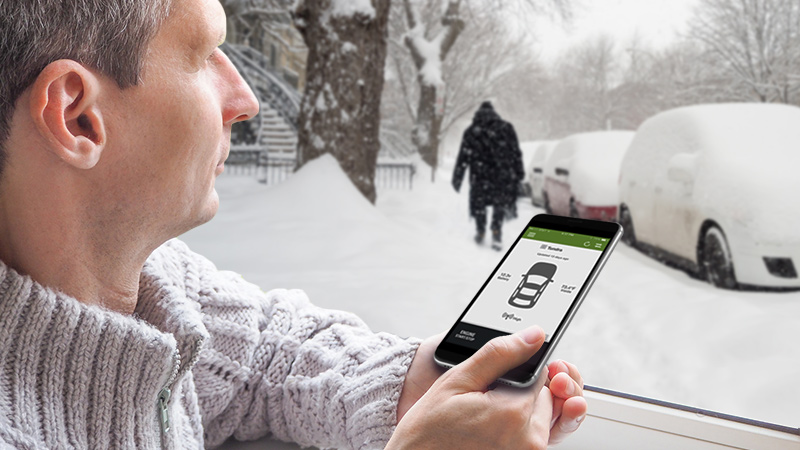
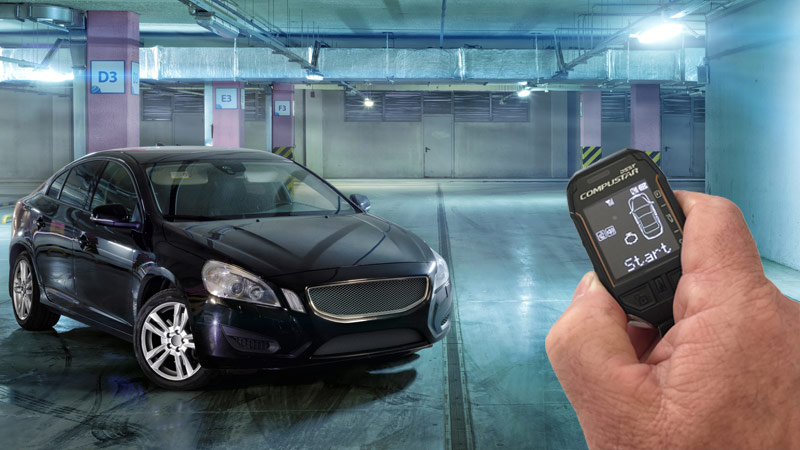
One of the more complex purchases you can make in terms of an automotive accessory is a remote car starter. These fantastic products will let you start your car by pressing a button on a remote. Your car can idle safely and securely in your driveway or parking lot so that it will be more comfortable when you get to it. In the summer, a few minutes running your air conditioning can cool the interior of your vehicle significantly. In the winter, letting the engine build up heat and the rear defroster start melting ice, frost or snow can make heading to work much more pleasant.
What Comes With a Remote Start System?
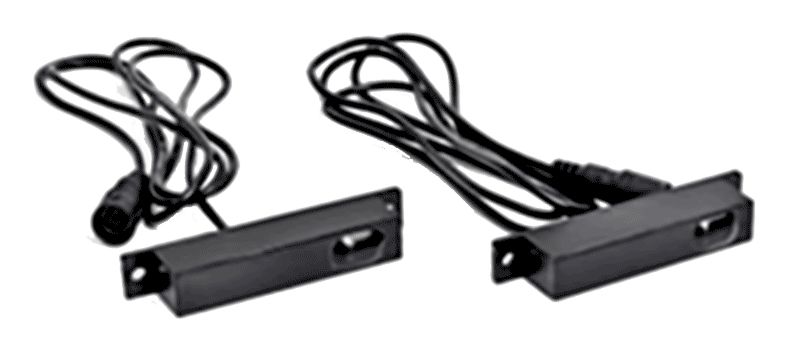
If you walk into your local mobile electronics retailer and look inside a remote starter box, you will see a black plastic case with as many as 20 different wire connectors and perhaps 100 individual electrical connections. There are usually three to six wire harnesses in the box, as well as a pair of remote controls, an antenna and the antenna data cable. If the system includes security features, then there will be a siren and a shock or motion sensor of some kind.
What’s with all the Wires?
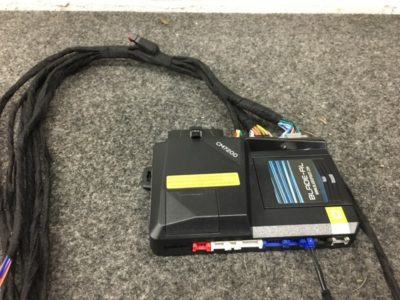 You might wonder why there are so many harnesses and wires on the remote starter. Most remote starter systems are designed as universal platforms. They need inputs and outputs in order to work with thousands of different vehicles. Power, ground, ignition, start, door lock, door unlock, door trigger, key sense, and brake input are some of the simple-to-understand connections. There are dozens more. The system also needs to be able to communicate with vehicle interface modules, telematics devices and system programming devices during the installation process. Safety switches, LED’s, antennae, temperature probes and security sensors often have their own dedicated connectors.
What You Need to Know to Buy a Remote Starter System
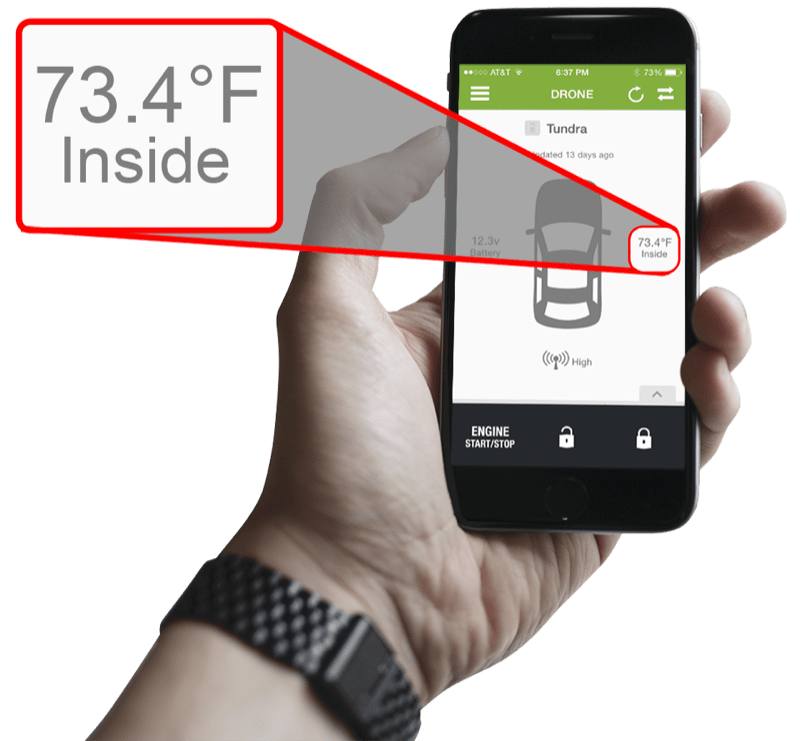
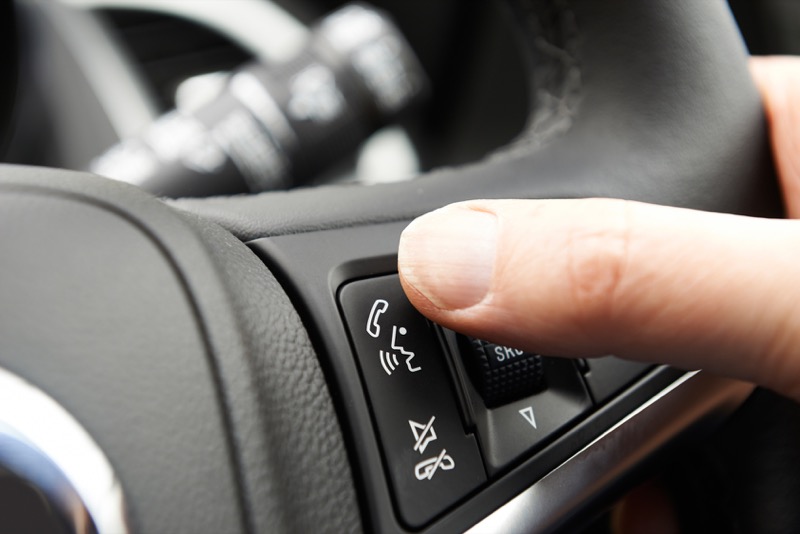
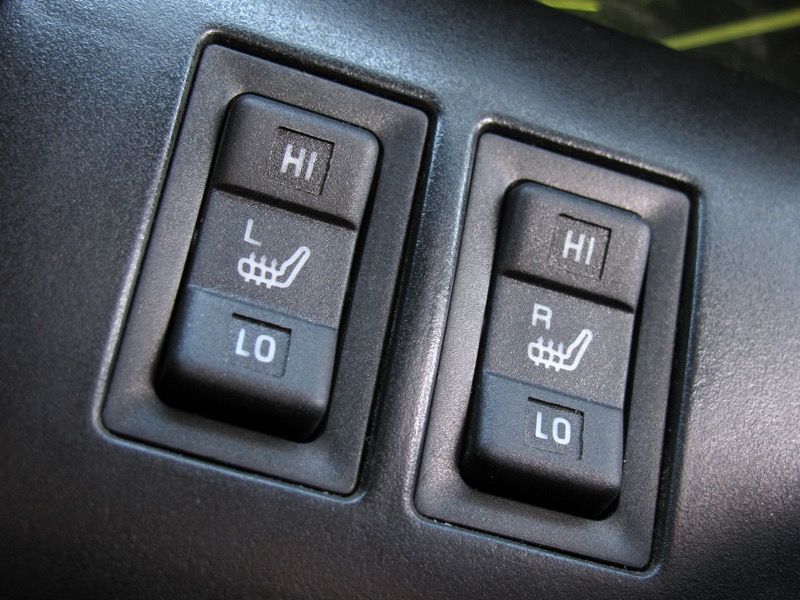
 As the consumer, you should prepare yourself with some information for the retailer before you go shopping. You don’t need to know what make or model of remote starter you want to purchase, but you do need a clear understanding of how you will use the system. You’ll need to know how much remote range is required based on where you park your car at home or work. Will you want 1-Way or 2-Way remotes? If you opt for a 2-Way remote, are you OK with LED indicators, or do you want an LCD display? Are you interested in adding security (car alarm) functions to the remote starter? If you have a minivan with power sliding doors, do you want the remote starter to be able to open and close them? Many remote starters can automatically activate heated seats, heated steering wheels and the rear window defroster if the temperature inside the vehicle is below a preset level. Are those features you may want?
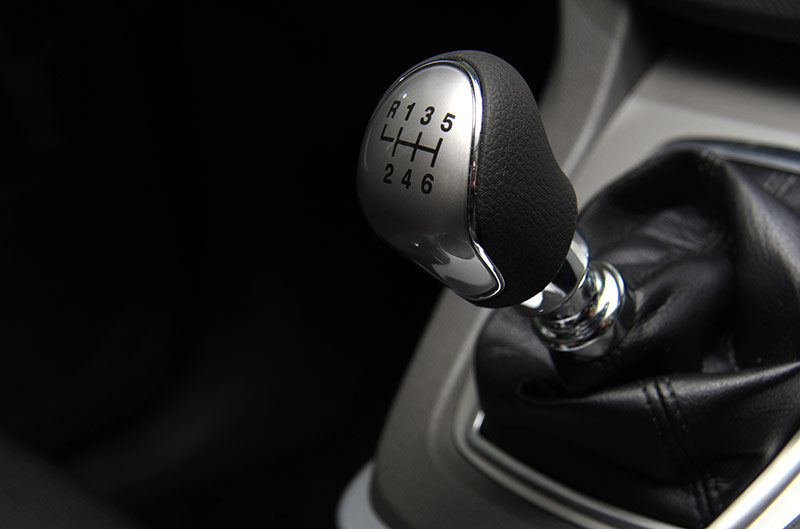
At the same time, you are describing what you want your new remote starter to do, the salesperson will be honing in on the best system they have to give you those functions while working with your vehicle. He or she will need to know if your vehicle has a manual or automatic transmission. Does your vehicle have keyless entry? Does it have apush-to-start ignition system? You need to know the exact year, make, model and trim level of the vehicle in order to complete the quotation process. Different applications can often require significantly different interface hardware.
What Does a Remote Starter Cost?
 As you can see, creating an accurate quote requires significant research on the part of the retailer. Without the proper information, asking “what does a remote starter cost?” is like asking how much a new house or car costs. There are simply too many options and variables to provide an all-encompassing answer.
The answer to the question of what a remote starter costs is based on the features and performance you want from the system. If you have a common vehicle and don’t need much range, you can get a quality remote starter for $300 or $400. If you want as much range as possible, want the heated seats and rear defroster to activate automatically, have a manual transmission, choose an LCD remote and want security features like a siren and shock sensor, the bill could be well over $1000.
Remote Starter System Quality
As with any product, there are good quality products and inexpensive products. We can’t tell you which to buy and which to avoid, but a general rule of thumb is to stick to the brands you have heard of. Premium products often provide better vehicle compatibility and more reliability in terms of their remotes. Some brands include remotes that are water resistant or even waterproof. Better quality systems often carry longer warranties.
How consumers perceive the performance of a remote starter is not in whether or not the vehicle starts, but often how quickly the system responds to commands from the remote and how easy it is to use. Premium products offer a better overall user experience.
Questions for the Retailer
 After you and the salesperson are homing in on the perfect remote starter solution for your vehicle and your requirements, it is time to turn the interview process around and ask a few questions. Ask about the warranty on the remote starter. Most carry a long warranty on the control module and between one and three years on the remotes and accessories. Ask if you need to register with the manufacturer in order for the warranty to be valid. Some brands require this step. Ask about their warranty on the installation. Many premiere shops back their labor with a lifetime guarantee for as long as you own your vehicle.
Are they Worthy?
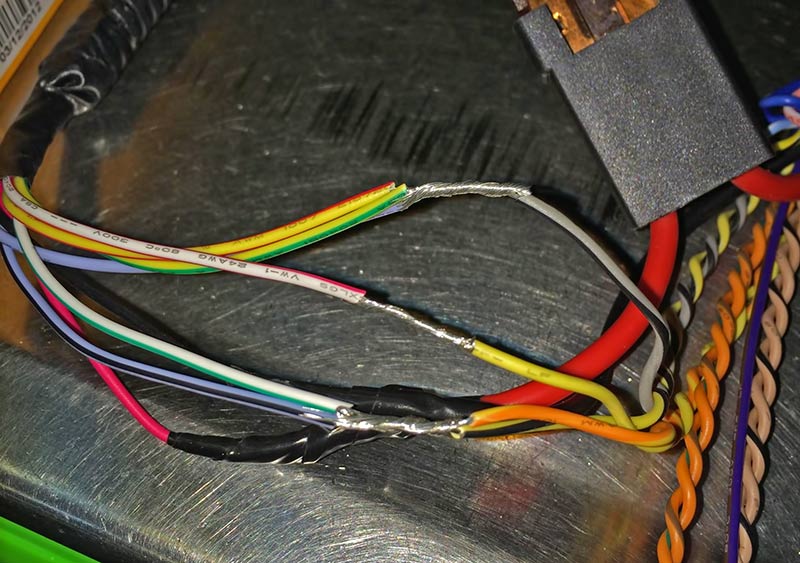 Here is where your gut instinct kicks in. Ask them about how they install the remote starter into your vehicle. There is no right answer here, but there are certainly wrong answers. A few key words to listen for are “soldering” or specific connection types such as a “Western Union”. If they mention “3M” or “tesa tape”, those are very good signs. We can’t really say that one method or term is better than another, but you will get a sense of their attention to detail in how they integrate the starter with your vehicle.
Many shops start every installation with a vehicle pre-inspection, just like when you rent a car. This process will identify any abnormalities in the physical condition of the vehicle or issues with the electrical system. For example, if the vehicle Check Engine light is on, that should be addressed before the remote starter installation begins. Some shops will use heavy-duty seat covers, floor mats and even steering wheel covers to protect the interior while they are working on it.
Have a look at the shop itself. Does it seem organized? Is the store relatively tidy? Ultimately, If you aren’t getting a warm and fuzzy feeling, ask more questions. If you aren’t comfortable, keep shopping.
Why Installation Matters
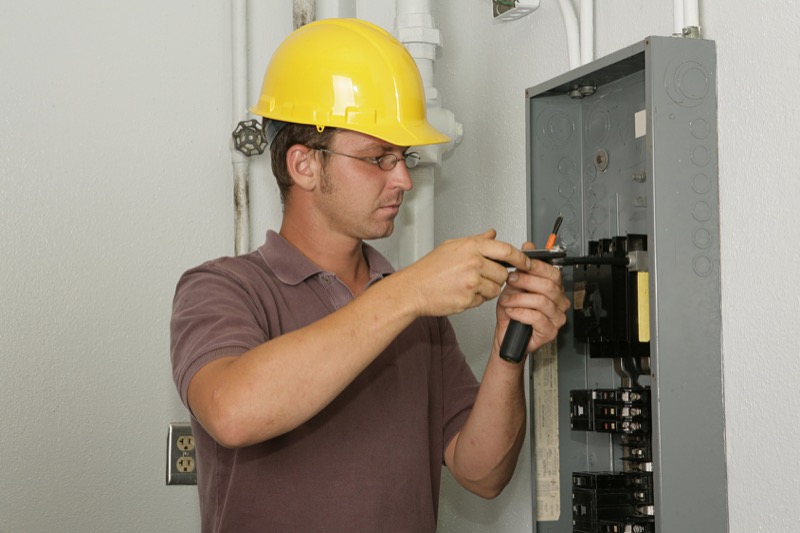 Let’s go back to our analogy of buying a new electrical panel for your home. Perhaps you want to add a few circuits to your workshop or the garage and the original panel has run out of room. Maybe you have a home with screw-in fuses and you want to upgrade to circuit breakers with an integrated GFCI for the kitchen and bathrooms? You should seek out a licensed electrician to perform the retrofit. He will know the local building code guidelines and understand how to route and secure the wiring safely to ensure maximum performance and reliability.
A single loose electrical connection, be it in the home or in your vehicle can be very dangerous. Poor connections can heat up or act intermittently. When working on the electrical system of your vehicle, every connection is equally important and should be treated as such. A quality electrical connection must be electrically conductive, mechanically secure and properly protected.
If you decided to look in a remote starter box, you will find instructions for the starter. This guide explains the function of each wire and connector on the starter brain. It does not explain which wires need to be used in your specific vehicle. Installing a remote car starter requires the technician to understand which wires need to be used to communicate with your vehicle in order to make it start. It takes years of experience and constant education to be a good remote start installer.
Who you choose to integrate the remote starter system you want into your vehicle is more important than any of the features on the remote starter itself. A mediocre quality remote starter that is installed properly can outperform a premium starter that has a questionable installation. We recommend looking for the best possible starter and installation for long-term enjoyment of the system.
Add Comfort and Convenience Today
Purchasing a remote starter for yourself, for a friend or a family member is a great idea for birthdays and holidays. When it is the middle of the summer, coming out of work after a long day to a car that is already cooling off can be refreshing. Likewise, heading out the door on a cold winter morning to toasty warm seats and windows that are easy to brush off can not only save you time but significantly reduce your stress level. Visit your local mobile enhancement retailer and ask about the remote start options available for your car, truck or SUV. You’ll be glad you did.
This article is written and produced by the team at www.BestCarAudio.com. Reproduction or use of any kind is prohibited without the express written permission of 1sixty8 media.