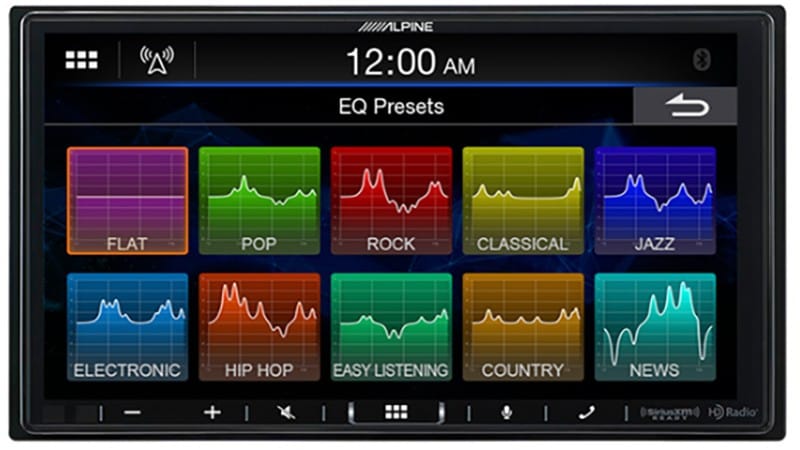
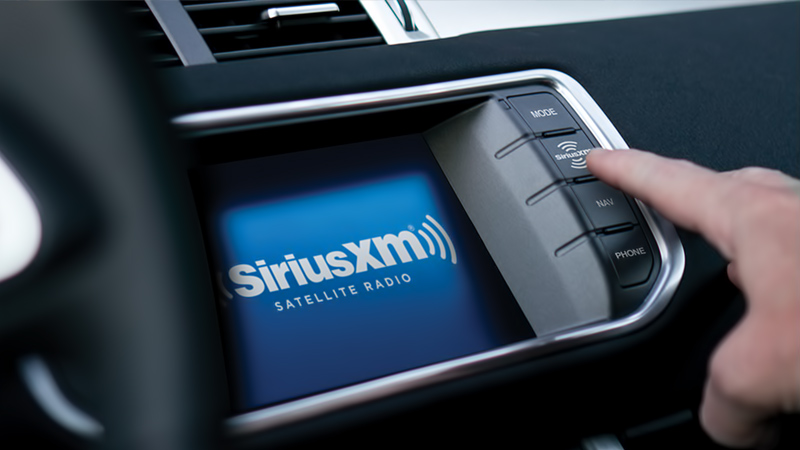
 It seems you can’t go anywhere these days without hearing or seeing evidence of SiriusXM Satellite Radio. Satellite radio is touted as a commercial-free entertainment solution that can be accessed almost anywhere in North America. With more than 175 channels of music, comedy, sports and talk radio available 24 hours a day, there is always something to listen to. Let’s look at the how satellite radio began, how it works and why it has been so popular.
The Early Days of Satellite Radio
XM Satellite Radio evolved from the American Mobile Satellite Corp. AMSC was a consortium of companies that wanted to use satellite technology to broadcast telephone, data and fax information around the country. In 1992, AMSC formed the American Mobile Radio Corp. to develop a satellite-based digital radio service. AMRC was spun off from AMSC in 1998 as XM Satellite Radio. XM Radio was first to broadcast, launching on Sept. 25, 2001.
In 1990, Sirius Satellite Radio set out to attract customers and vehicle manufacturing partners to its proposed music service. After years of planning, development and licensing, Sirius launched three satellites in July 2000 and started broadcasting in January 2002.
Satellite radio was the hot ticket in the early the early 2000s, and partnerships with automakers were crucially important to each company. Sirius gained the support of Ford, BMW and Chrysler, while XM had General Motors, Honda and Toyota on board.
Satellite Radio Company Merger
 In January 2005, the New York Post announced that Sirius and XM would merge into a single company on Feb. 19, 2007. The combined companies had about 14 million subscribers, but neither company had posted a profit. The result of the merger was SiriusXM – the brand we have now.
SiriusXM is now integrated into 75 percent of the new car market, with roughly 40 percent of those vehicle owners becoming subscribers. As of late 2017, there are about 32 million subscribers.
How Satellite Radio Works
Satellite radio is actually a very simple broadcasting system. The company has its main studios in Rockefeller Center in New York City and in Washington, D.C. Secondary facilities are in Los Angeles, Nashville and Memphis. The company plays music from its extensive catalog and has live performance spaces to host musicians and performers from all genres.
The information is broadcast to a set of satellites above the Earth that rebroadcast that information back to Earth. The broadcast covers most of North America. The satellite radio receiver in your vehicle (car, truck, boat or aircraft) uses a compact antenna to pick up the signal and extract the channel of audio you want to enjoy.
They Really Have Satellites?
 Whether it’s a live performance, your favorite music or a great discussion about religion or politics, all of the information is combined into a complex digital signal that is transmitted to a set of five active satellites that cover North America. XM-2 and XM-5 are in a geostationary position above the Earth. That is to say, they stay in the same relative position all the time. Positioned about 22,370 miles above the Earth, the satellites relay broadcast information from the studio transmitters to all of North America, excluding the left half of Alaska. XM-2 covers the west side of the country while XM-3 covers the east.
The Sirius satellites also operate in geostationary orbits. Sirius FM-6 covers the West Coast while Sirius FM-5 is located south of New Orleans to cover the East. Early Sirius satellites (Sirius 1, Sirius 2 and Sirius 3) crossed the planet in a figure 8 pattern that had two of the three over North America at any time.
As you can see, there have been many satellites over the almost 20 years of satellite radio. In total, nine have been launched, with the most recent being Sirius FM-6 on Oct. 25, 2013. Sirius FM-6 was the first to broadcast both Sirius and XM transmission frequencies.
The Benefit of Satellite Radio
 So, what’s the big deal? Why do people gravitate toward satellite radio? The answer comes from its coverage. You can make a road trip from Miami, up to Montreal, across to Vancouver then down to San Diego without having to change the station. If you want to listen to Howard Stern for the entire 90 hours of driving, you most certainly can.
Conventional terrestrial broadcasts (AM and FM radio) are limited in their coverage areas. In fact, the FCC regulates the strength of the signal (to 70 dBu, or decibels relative to one microvolt per meter of signal strength). That way, a station frequency can be re-used again in a relatively nearby location. The actual distance varies because of atmospheric conditions but usually covers 75 to 100 miles from the transmitter. Because each station is responsible for its own content, if spaced perfectly, you’d need to change stations between 60 and 80 times. In reality, you’d need likely a few thousand attempts to find a station that was playing the type of music you wanted.
More Than Just Cars and Trucks
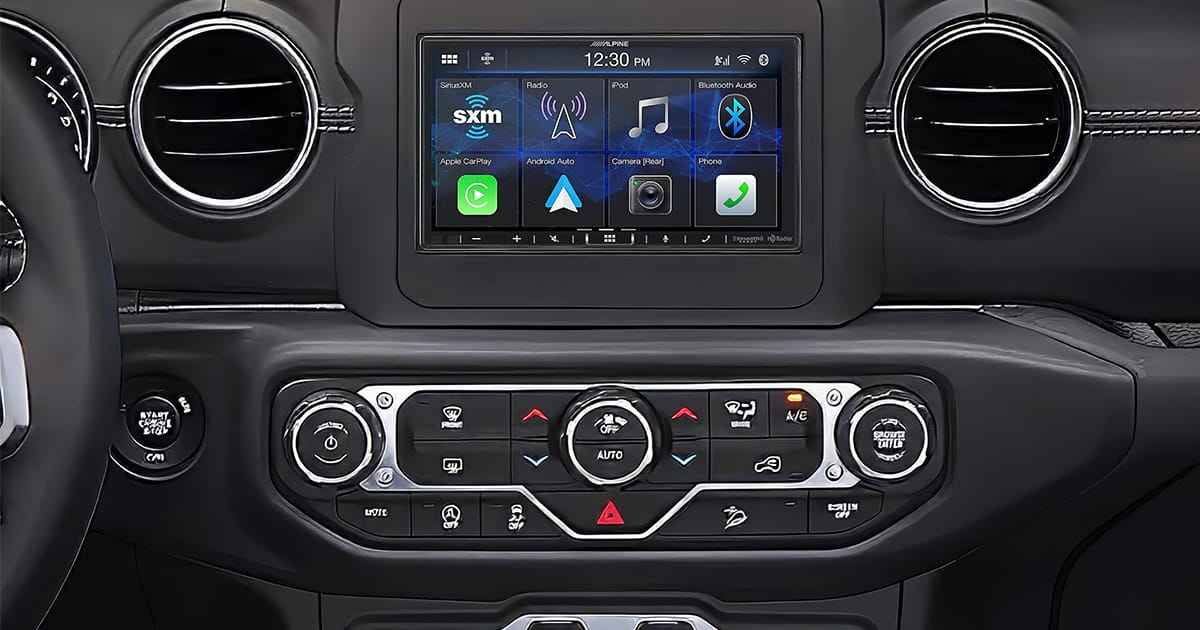
 SiriusXM satellite radio services have been synonymous with marine entertainment systems since they launched. Many people have cottages or camps in very remote areas that have few if any radio stations at all, so being able to enjoy their favorite genre of entertainment is fantastic. Likewise, receivers such as the SiriusXM Sound Station let you enjoy music in your home.
Things You Didn’t Know SiriusXM Could Do
Most of us are used to having satellite radio entertainment in the car, but there are several other applications for the system as well. Many aircraft, both small and large, can get weather and location information using a SiriusXM Aviation receiver. In fact, many Garmin aviation-specific products have the SXM receiver built in.
 SiriusXM Marine provides weather information including lighting strike locations and radar, fishing information and more. Many Garmin, Raymarine, Simrad, Lowrance, B&G and Furuno devices are compatible with SiriusXM Marine.
SiriusXM Music for Business offers entertainment solutions that are tailored to different business types. Serve Happy covers restaurants and bars, and Shop Happy is designed for retail stores. There are channels for waiting rooms, spa and fitness businesses, banks and even music dedicated to use when clients must be put on hold on the phone.
Currently only available on OEM source units, SiriusXM Traffic and Travel Link provide traffic flow information as well as local weather, fuel prices, sports scores and even movie listings. Traffic information mimics that of terrestrial RDS-TMC services in major urban areas.
The Cost of SiriusXM Satellite Radio
 With the need to replace satellites roughly every 15 years, license music, pay hosts and celebrities, SiriusXM requires a subscription to access its services. In the U.S., prices start at $10.99 a month for 80 basic channels. If you want some of the artist-specific channels and MLB, NBA and NHL coverage, that rises to $15.99. To add Howard Stern, NFL and NASCAR coverage, the price is $19.99. Adding the ability to stream Sirius XM to your computer increases any of the above by $4 a month.
Enjoy the Entertainment You Want, Almost Anywhere
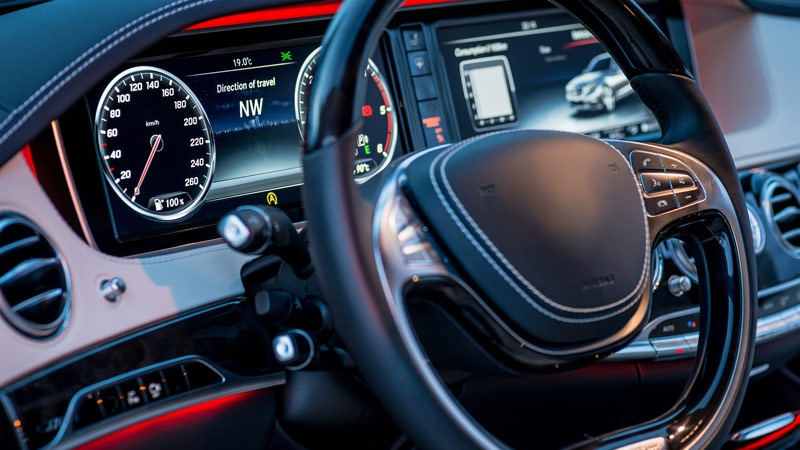
Whether you are in downtown New York or venturing to Supai, Arizona (the most remote community in the contiguous U.S.), enjoying your music is easy with SiriusXM satellite radio. If your vehicle doesn’t already have a satellite radio receiver, drop by your local mobile enhancement retailer and ask about your options to add SiriusXM.
This article is written and produced by the team at www.BestCarAudio.com. Reproduction or use of any kind is prohibited without the express written permission of 1sixty8 media.