 It’s early 2018, and North America is still contending with a deep freeze and some nasty winter weather. Erie, Pennsylvania, got more than 50 inches of snow over the holidays, and several northeastern US cities set records for cold weather. Montreal, Canada, spent six consecutive days with the temperature below 1 degree F. Amid all this shivering, our cars and trucks have been suffering. We’ve seen people lined up at auto parts stores to buy new car batteries. What is it about the cold that gives a car battery such a hard time? Read on to find out some important facts about car battery maintenance.
Taxing the Electrical System
 A while back, we took a very detailed look at how car batteries work, explaining the chemistry behind releasing electrons as energy. We won’t punish you with the high-school chem lab rigmarole again.
When your battery has a full charge, the outside temperature can typically reach well below -50F before the battery starts to freeze. Conversely, a depleted battery will start to freeze just below 30F. Once the battery freezes, you won’t be moving any electrons anywhere quickly.
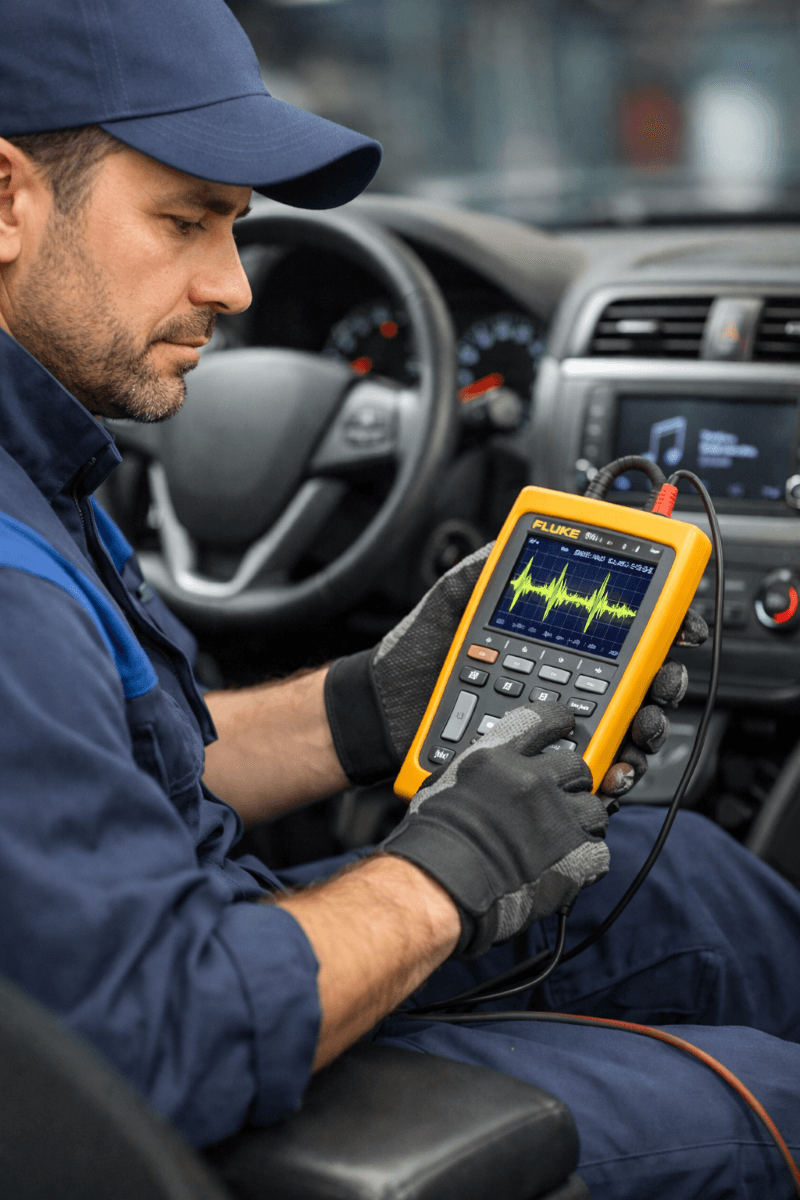
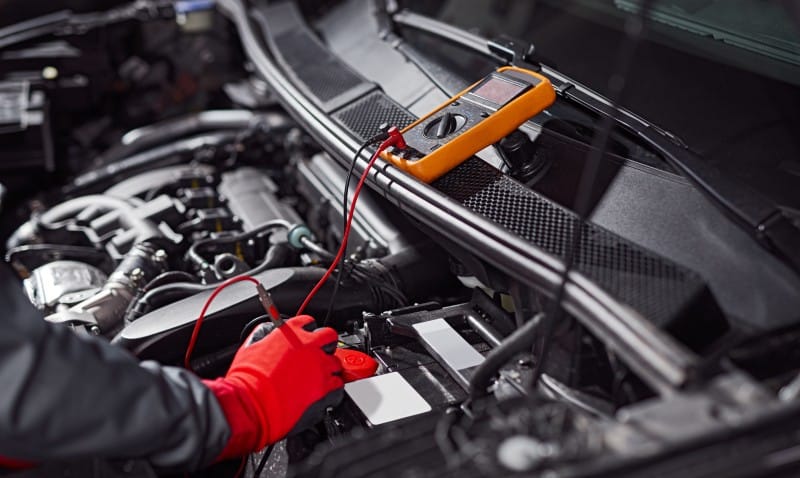
For a normal lead-acid battery, in excellent condition with a full charge, the battery should be around 12.6 to 12.7 volts when measured without any load. When depleted by about 50 percent, the battery will read around 12.3 volts. 12.0V means you have about 25 percent charge left. Finally, anything less than 11.9 means the battery is dead. The range is not very wide and most people think that if the battery is at 12.0 volts, it’s fine.
The Downward Spiral of Energy Reserve
 The problem with cold weather and battery performance isn’t typically caused by temperature alone. As temperatures drop, we find ourselves using seat heaters, rear window defrosters and heated steering wheels, and of course we have the heater blower cranked all the way up! These electrical loads tax your charging system and draw current away from your battery. If you drive a short distance to work, say less than 15 minutes, you will find the charge level of your battery drops slowly day after day.
Over the holidays, many people change their routine. One option is to stay at home, cuddled up by the fire or the cozy glow of your plasma TV. Another option is to head to the airport and hop on a plane to somewhere warm for a week. Sure, there are still lots of people who have to work over the holidays, and their routines don’t change much.
For those who let their vehicles sit for several days, circuits like keyless entry systems and the clock continue to function. Even if they only draw 10 to 15mA of current, they will slowly drain the reserve out of your battery.
When we start our vehicles in cold weather, the oil in the engine and transmission are much thicker. This dramatically increases the current required to turn the starter motor. If it took 200 Amps to start your car on a nice sunny summer day, it’s not even remotely unreasonable for that number to double when the temperature is below freezing.
But Wait, There’s More!
So, now we have a battery that isn’t being charged very quickly when we drive, combined with reduced current delivery capabilities and significantly higher power requirements to start the car. It’s no wonder that cars don’t start when it’s cold out.
Now, let’s say you’re a smart cookie, and you decide to let your car idle a few minutes before you drive off. In terms of protecting your engine, this is the best idea in the world! Getting some heat into your motor oil will help thin it out and let it do its job better. Fuel will atomize better as the temperature of your engine increases. The downside is that most alternators don’t produce their full charging voltage at idle. So, while you may be doing wonderful things for the engine, you may not be charging the battery very much.
Batteries by the Numbers
 Aside from not being to charge our batteries as quickly, and the fact that we need more current, batteries themselves simply do not perform as well when the temperature starts to drop. Let’s look at two common battery specifications: Cranking Amps and Cold Cranking Amps. The Cranking Amps specification defines the amount of current a battery can supply for 30 seconds when it is at 32 degrees F (0 degrees C) and maintaining a voltage of at least 7.2 volts. The Cold Cranking Amp specification is similar but with a temperature of 0 degrees F (-17.8 degrees C). Sadly, the reality of this specification is that 7.2 volts isn’t enough to get much work done. The flip side? We often don’t need to crank the engine for 30 seconds. Therefore, it all works out.
Your battery can’t produce as much energy when it’s cold because the rate at which the chemical conversation takes place is slowed down, increasing electrolyte resistance.
Taking Care of Your Battery in the Cold
When the mercury is slated to drop, or you won’t be driving your vehicle for more than three or four days, put a charger on it.
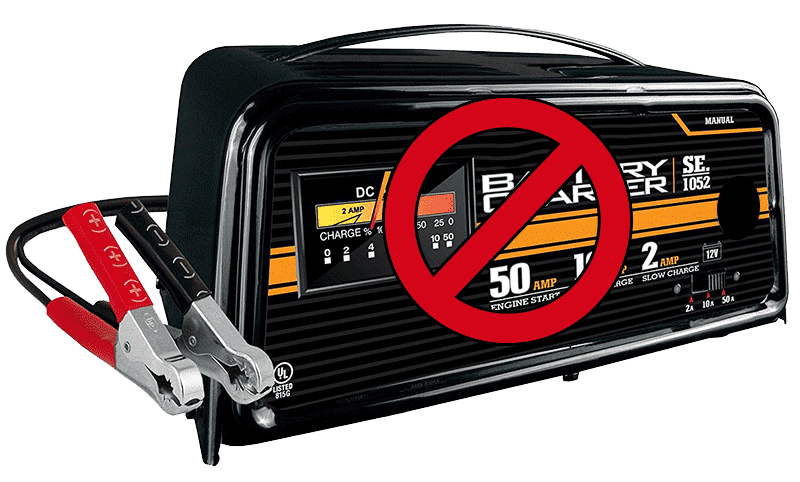 Please pay attention to this part. Not all battery chargers are equal. Those manually controlled, dual-rate chargers in the metal case at Walmart are NOT what you want.
Look for a battery charger that says it’s computer-controlled, automatic or intelligent. You will want to see some indication that the charger has different charging modes. The charger needs to be intelligent enough to stop pumping current into the battery once it’s charged.
Some of the best chargers have as many as eight steps/modes in their charging process. These can include processes that will break down sulfates that have adhered to the lead plates and prevent stratification when the battery is unused for a long period. Do your research before you buy.
Regular Battery Maintenance
 Wouldn’t it be nice if our vehicles had a battery level indicator like our cell phones have? Knowing whether we have 70 percent or 30 percent charge left would dramatically improve the way we care for our batteries. Try to make it a habit of keeping the battery topped up. If you have sat in a parking lot listening to the radio for 20 minutes or made several short trips without a good long one to recharge the battery, connect your charger overnight and fill it up. It’s also a good idea to use your battery charger whenever you get your oil changed as a precaution. A well-maintained battery will last much longer than one that spends its life half-depleted.
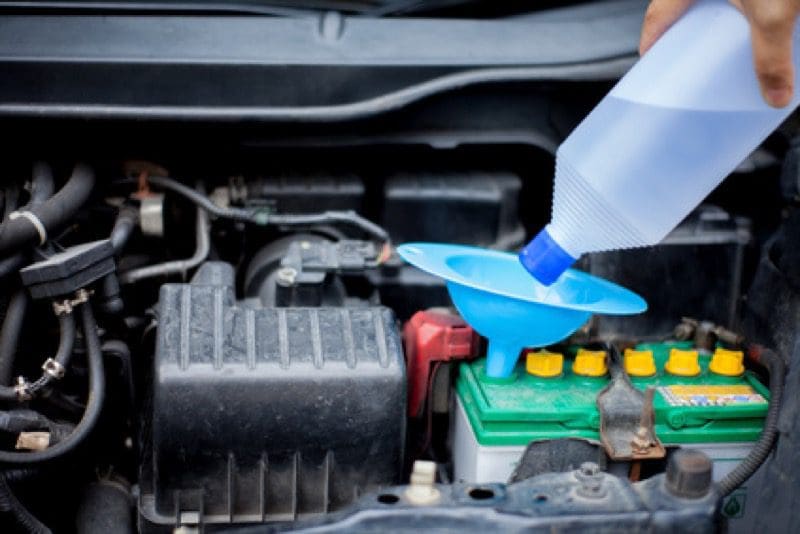
If your battery has removal caps that allow you to check the electrolyte level, be sure to check the battery frequently. If the level is low, add distilled water. Do not use tap water. The minerals in the water will reduce the capacity of your battery.
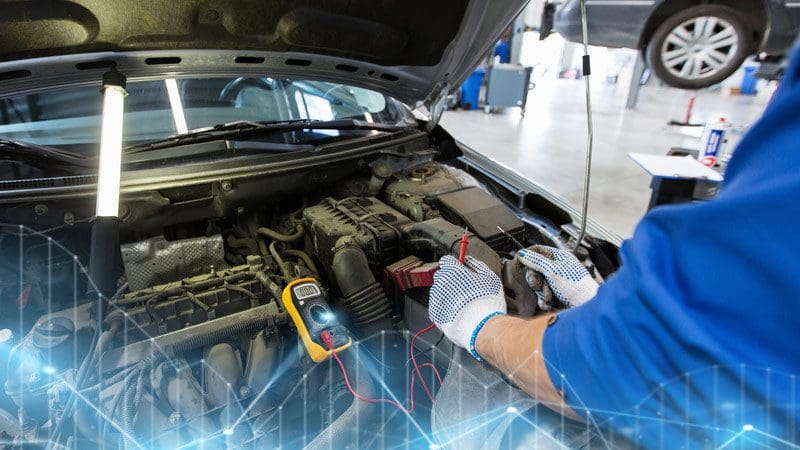
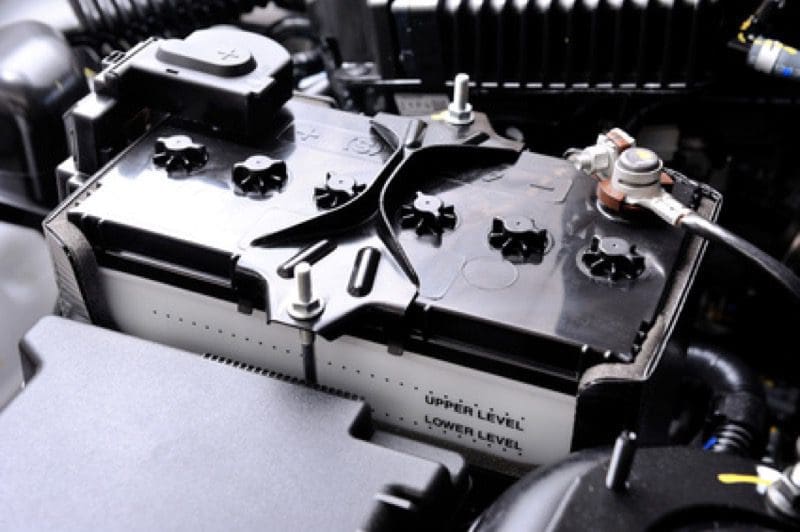
You will also want to check all the battery connections. Are the power and ground connections tight? Is there any corrosion? If anything seems out of sorts, seek the assistance of a professional to ensure energy can flow from your battery efficiently and reliably.
Battery Care for Mobile Electronics Enthusiasts
 A lot of car audio lovers forget to maintain their battery. The guys who compete in SPL contests are fanatical about battery maintenance. They have come up with all sorts of tricks to get the most voltage possible out of even the simplest of electrical systems.
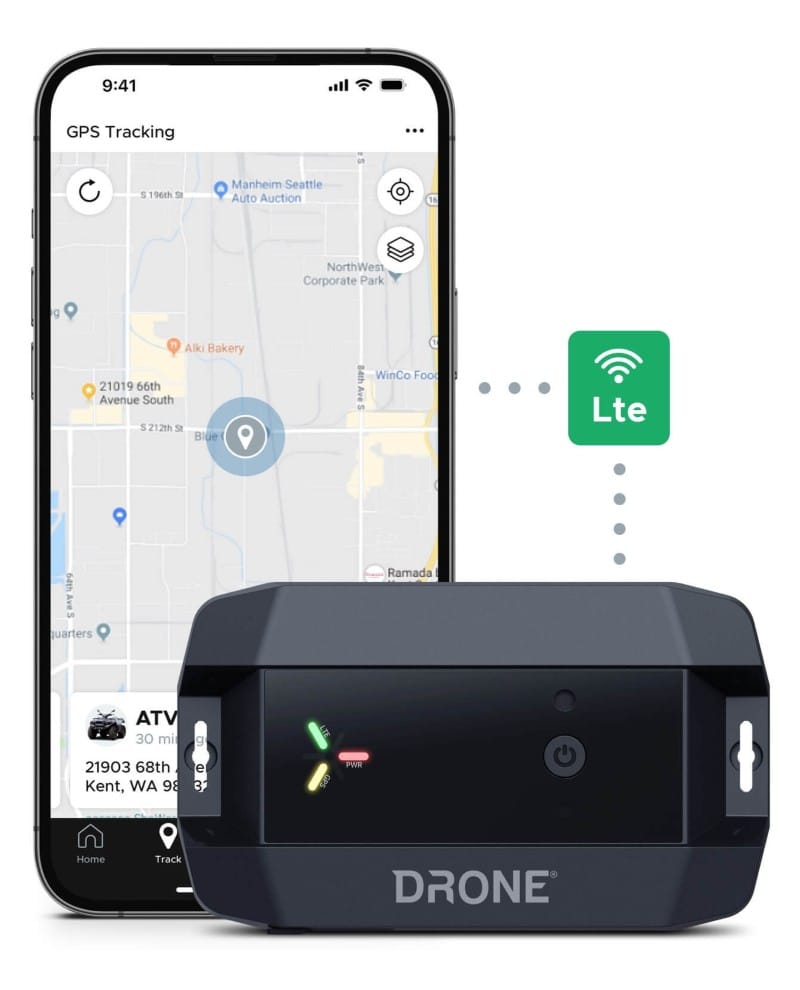
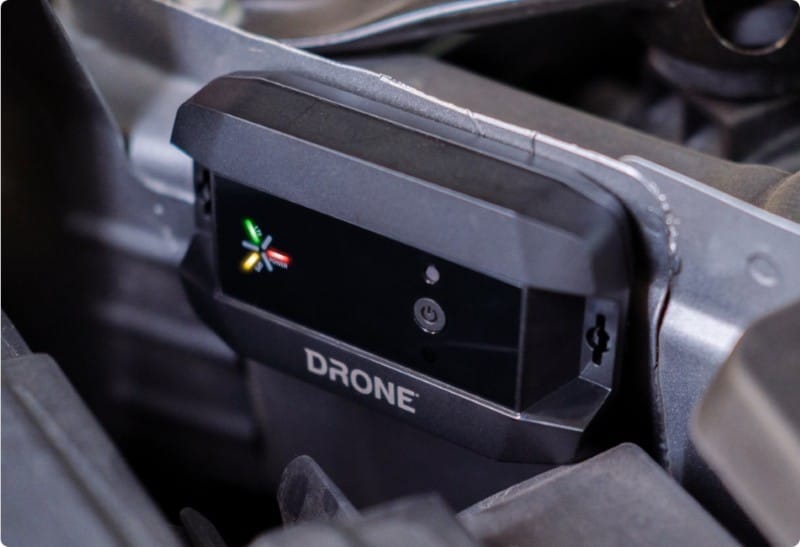
If you have added accessories to your automotive electrical system, then battery maintenance is especially important. The addition of a dash camera that includes an automatic parking mode can tax a battery. If the weather is going to be much below freezing, you should turn that feature off. If you have a remote starter with a two-way remote, those also add a little extra current draw to your battery. A telematics solution like DroneMobile, SmartStart or AutoConnect also draws current. Stack up a few of these options and your battery may only last a week if you don’t drive the vehicle. You can see why battery maintenance is so important.
If you have questions about taking care of your electrical system, drop into your local mobile enhancement retailer. They can suggest what charger offers the best performance and may even have one in stock. If you need a new battery, they might be able to help with that as well. Don’t let yourself get stranded – take care of your car battery and it will take care of you!
This article is written and produced by the team at www.BestCarAudio.com. Reproduction or use of any kind is prohibited without the express written permission of 1sixty8 media.